
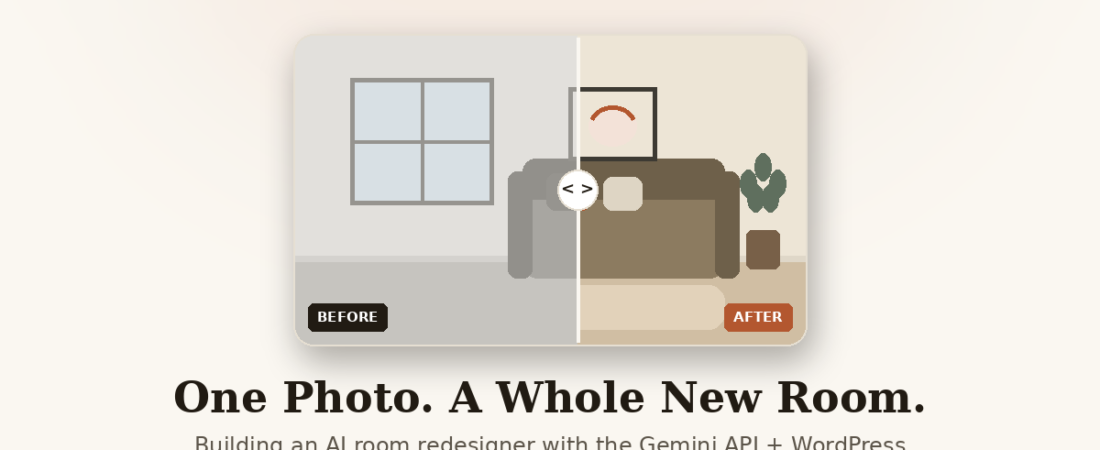
AI interior redesign studio
One photo.
A whole new mood for your space.
Upload a photo of your room, pick a style, and AI redesigns the space in about 10 seconds. Walls and windows stay exactly where they are — the atmosphere changes completely.
- 10 sec
- Average generation time
- 8
- Interior styles
- 2
- Free trials
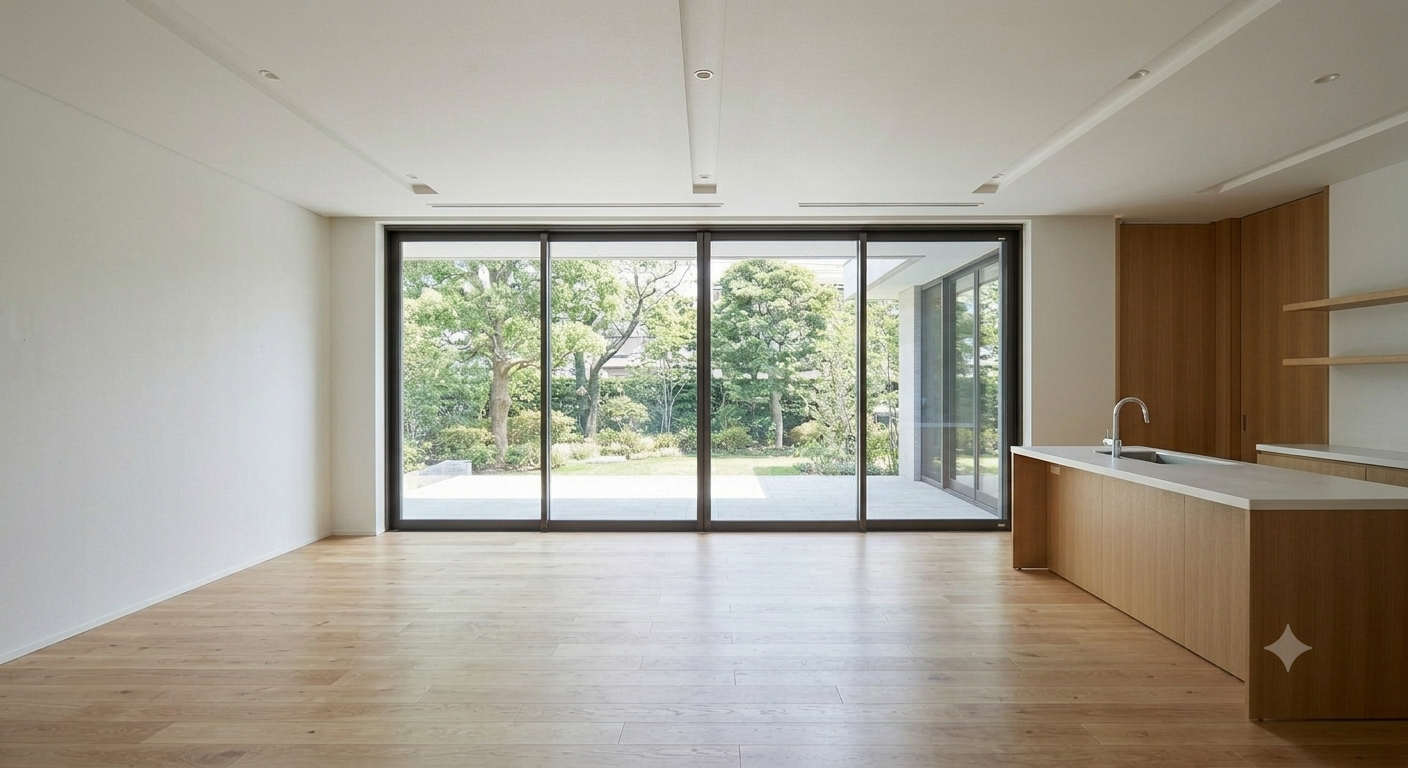 Before
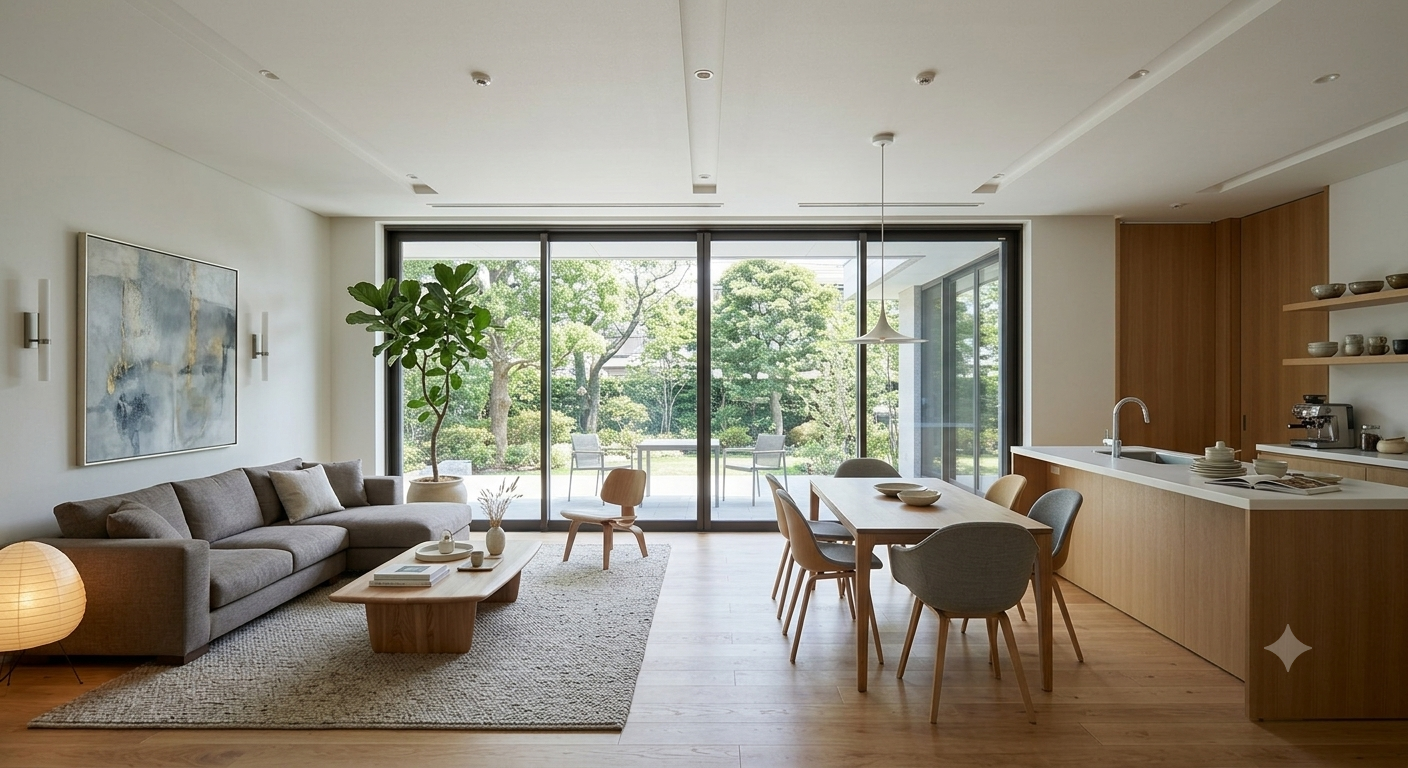 After
After
Drag the handle left and right to see the Japandi transformation.
Teardown · How it’s built
Start here: what this post is
Everything above is a live, working demo — the slider you just dragged, the studio further down, the real AI generation. The rest of this page takes that material apart. This is an educational teardown: each working section is followed by an explanation of how it was made and why it was built that way. Every code snippet below is excerpted from the actual page you’re on, so you can compare the explanation against the running result.
The architecture: three layers, one domain
The whole service runs on a plain WordPress install — no Node.js server, no separate hosting. The frontend is one self-contained HTML block; the backend is a custom WordPress REST route in PHP; the AI is Google’s Gemini image model, called server-side.
Keeping the frontend and backend on the same domain was deliberate. An earlier version called an external API server, which triggered cross-origin (CORS) restrictions. Moving the backend into WordPress itself made that entire class of problems disappear.
The before/after slider you just used
The slider stacks the “after” image on top of the “before” image, then hides part of the top
layer with a CSS clip-path. Dragging updates a single percentage — no second canvas,
no image swapping:
function setPos(p) {
  pos = Math.max(0, Math.min(100, p));
  clip.style.clipPath = 'inset(0 ' + (100 - pos) + '% 0 0)';
  bar.style.left = pos + '%';
  handle.setAttribute('aria-valuenow', Math.round(pos));
}
Pointer Events (pointerdown/move/up) cover mouse, touch, and pen in one code path,
and the handle is a real <button role="slider"> with arrow-key support — so
it works for keyboard and screen-reader users, not just mouse users.
Why nothing here leaks into your theme
Embedded UI has to survive whatever CSS the theme ships. Two techniques handle that. Every color,
shadow, and font is defined once as a CSS custom property (a “design token”), and
every selector is prefixed (.rr-) and nested under
#reroom-app. The theme’s rules can’t leak in; this page’s rules can’t leak out.
#reroom-app {
  --rr-paper: #faf7f1;  /* background */
  --rr-ink:   #211b13;  /* text */
  --rr-clay:  #b3572f;  /* accent */
}
Scroll-reveal, without a library
Sections fade in on scroll using the browser-native IntersectionObserver — no
animation library. And if the visitor’s OS has prefers-reduced-motion on, the
observer is skipped and everything renders visible immediately. Respecting motion settings is not optional.
var io = new IntersectionObserver(function (entries) {
  entries.forEach(function (e) {
    if (e.isIntersecting) {
      e.target.classList.add('rr-in');
      io.unobserve(e.target);   // animate once, then stop
    }
  });
}, { threshold: 0.15 });
Styles
Eight ways to see your home
From refined minimalism to the calm of a traditional hanok. Pick a style and see how the same room transforms.
Teardown · The style grid above
One data array, two UIs
The eight cards you just scrolled past — and the eight mini buttons in the studio below — are
never written out by hand. Both are generated from a single STYLES array:
var STYLES = [
  { id: 'japandi', name: 'Japandi',
    desc: 'Eastern aesthetics, Western practicality',
    colors: ['#ded5c4', '#8c7b60', '#3d3a33'] },
  ...
];
Adding a ninth style means adding one object here — both UIs, the color swatches, and the value
sent to the backend all update automatically. Clicking a card calls the same
selectStyle() the studio uses and scrolls you down: two components, one
source of truth, one shared state.
How it works
Three steps is all it takes
Upload a photo
Upload a photo of the space you want to transform. It’s optimized in your browser and sent securely.
Choose a room and a style
Six room types from living room to studio apartment, eight styles from Modern to Hanok. Mix and match to taste.
A new room, 10 seconds later
Walls, windows, and camera angle stay intact — only furniture, lighting, and colors change in a high-resolution render.
Studio
Your redesign studio
Drag a file here or click to upload
Teardown · Inside the studio
Resizing the photo in the browser, before upload
Phone photos are often 4000px wide and several megabytes — wasteful to upload when the model
works around 1024px. So the resize happens in your browser, before anything is
sent, using an off-screen <canvas>:
var scale = Math.min(1, 1024 / Math.max(img.width, img.height));
canvas.width  = Math.round(img.width  * scale);
canvas.height = Math.round(img.height * scale);
canvas.getContext('2d').drawImage(img, 0, 0, canvas.width, canvas.height);
state.image = canvas.toDataURL('image/jpeg', 0.9);
Result: faster uploads, lower server memory, lower cost per request — and your full-resolution original never leaves your device.
The two keys, and who pays for what
There are two API keys in this system, and confusing them is the most common beginner mistake.
The operator’s key funds the 2 free trials and lives only in
wp-config.php on the server — it never appears in anything the browser can see.
The visitor’s key is optional, set with the toggle above, and stored only in
that visitor’s own localStorage:
apiKeyInput.addEventListener('input', function () {
  localStorage.setItem('reroom_gemini_key', apiKeyInput.value.trim());
});The backend: a WordPress REST route in plain PHP
WordPress ships with a full REST framework. One call registers an endpoint at
/wp-json/reroom/v1/generate, and a plain PHP function becomes the backend:
register_rest_route('reroom/v1', '/generate', array(
  'methods'  => 'POST',
  'callback' => 'reroom_generate_design',
  'permission_callback' => '__return_true',
));
The handler validates the image, picks the right key, builds the prompt, forwards it to Gemini
with wp_remote_post(), and returns the result as a base64 image. The prompt carries
the product’s core promise: it explicitly tells the model to keep walls, windows, doors, and the
camera angle untouched, changing only furniture, lighting, and color. Prompt engineering
here is the feature.
The free-trial limit lives on the server, not the badge
The “2 of 2 free trials remaining” badge is cosmetic — refresh and it resets. The real limit is enforced server-side with WordPress transients keyed to the visitor’s IP, and it only counts up after a successful generation, so a failed request never burns a trial:
$used = (int) get_transient('reroom_trials_' . md5($ip));
if ($used >= 2) {
  return new WP_Error('trials_exceeded', '...', array('status' => 429));
}Three real errors hit during this build
ERR_NAME_NOT_RESOLVED — the fetch URL was still a placeholder, so
the browser couldn’t find the server at all. This error class means “wrong address,” never
“server bug.”
CORS — calling a backend on a different domain requires that server to allow your origin. Solved structurally here, by putting the backend on the same domain as the page.
Quota exceeded… limit: 0 — the confusing one. limit: 0
means the free tier allows zero calls to this model: Gemini’s image models need a
billing-enabled Google Cloud project, unlike its free text models. The fix wasn’t code — it was
connecting billing (roughly $0.05 per image).
FAQ
Frequently asked questions
How many times can I use it for free?+
Everyone gets 2 free generations. After that, turn on “Unlimited use with your own API key” and register a personal API key — issued from Google AI Studio in about a minute — to keep using the studio without limits. Note that Gemini’s image model requires a billing-enabled Google account.
Will the layout of my room get changed?+
No. Architectural elements — walls, windows, doors, ceiling, and the camera angle — are preserved by design. Only furniture, lighting, colors, and decor are redesigned to match your chosen style.
Where are my photos and API key stored?+
Photos are used only to process your generation request and are never stored on our servers. Your personal API key is kept only in your browser’s local storage and never appears in server logs.
What is the output quality like?+
Results come as high-resolution photorealistic PNG renders, ready to download the moment they’re done. You can also run the same photo through different styles back to back.
Wrap-up
The whole stack, in one sentence
Scoped CSS tokens, five small vanilla-JS behaviors, one PHP REST route, and one image model — assembled inside an ordinary WordPress site. The complete frontend source is embedded in this very page (view-source works), which is part of the lesson: nothing here is hidden, and nothing here needs a framework.
All interior images on this page were generated from the author’s own photos using Google Gemini 2.5 Flash Image. AI renders do not guarantee real-world construction results.